

Beginner's Guide to DIY Roofing Repairs
Ever looked at your roof and thought, “Can I fix that myself?” If you’ve been quoted high prices for basic roofing repairs or just enjoy hands-on home improvement, you’re not alone. With the right tools, safety measures, and a little guidance, you can confidently tackle simple roofing repairs on your own.
This guide walks you through how to assess repairs, gear up safely, inspect your roof, and fix common problems—all designed for first-timers.
Should You DIY or Call a Pro?
Not all roofing repairs are suitable for beginners. Tasks like replacing a few broken tiles, cleaning gutters, or patching small leaks are manageable. But if your roof has sagging sections, major leaks, or structural issues, it’s time to call a professional.
Also, consider your comfort with heights. Roofing repairs require balance, strength, and safety awareness. If you’re uneasy on ladders or sloped surfaces, don't risk it—your safety comes first.
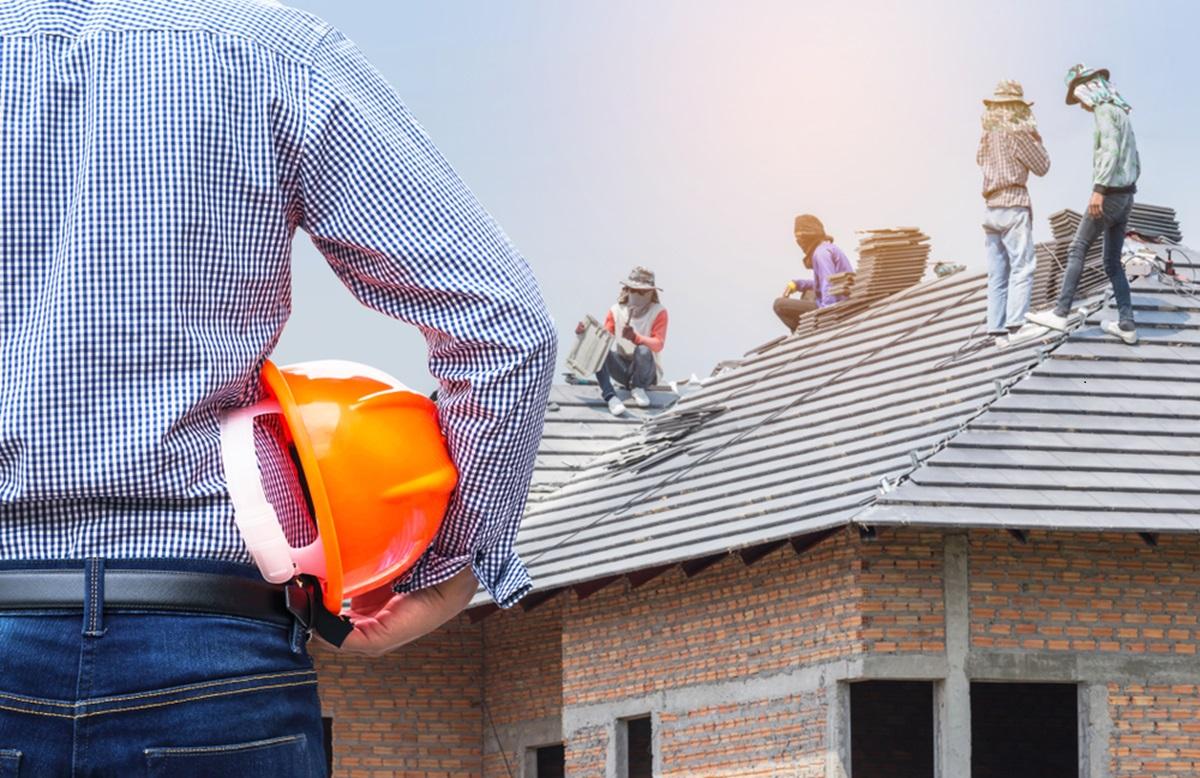
Safety First for Every Roofing Job
Always use proper safety gear: non-slip boots, gloves, safety glasses, and a hard hat. For steeper roofs, a safety harness is essential.
Choose a dry, mild day for repairs. Avoid working in wet or windy conditions, and ensure 24 hours of clear weather for materials like sealants to set.
Set up your ladder securely—extend it three feet above the roofline and follow the 4-to-1 rule: one foot out for every four feet up. Never carry tools while climbing—use a tool belt or hoist system.
Your Basic Roofing Toolkit
You don’t need professional-grade tools to get started with roofing repairs. Here’s what you’ll need:
- Roofing hammer
- Utility knife
- Pry bar
- Tape measure
- Chalk line
- Cordless drill
- Caulking gun
- Putty knives
For materials, stock up on roofing cement, sealant, replacement tiles or shingles, roofing nails, flashing, and underlayment patches.
Look for deals at local suppliers or online, and join DIY groups to find surplus materials at reduced rates.
Inspecting Your Roof Like a Pro
From the ground, look for missing tiles, sagging areas, or dark patches. Inside, check for water stains or visible light in the attic.
Create a checklist: inspect after storms, look for granules in gutters, and check flashing and vent areas closely. Addressing roofing repairs early helps avoid major damage later.
Step-by-Step: Replacing Broken Tiles
- Identify your tile type: clay, concrete, or slate—each handles differently.
- Remove damaged tile: Gently lift surrounding tiles using wooden wedges. Use a pry bar to remove nails or slide the tile out carefully.
- Install the new tile: Secure it with corrosion-resistant nails or clips, ensuring it’s flush and watertight.
Use crawl boards or roof ladders to avoid standing on tiles directly and causing more damage.
Fixing Roof Leaks the Smart Way
Start in the attic. Leaks are often uphill from where water appears. Use a hose to test suspect areas if needed.
For temporary fixes, roofing tape or plastic sheeting works in emergencies. For small, permanent fixes, apply roofing cement or re-seal flashing with quality sealants. Use rubber coatings for stubborn leak zones.
Easy Gutter Repairs
Blocked gutters can cause water damage and roof overflow. Clean them twice a year using gloves, a scoop, and a hose.
If gutters sag, check for loose or broken brackets. Adjust for proper slope—about 10mm per 3 metres—and secure everything firmly. Minor cracks can be sealed, but rusted or heavily damaged gutters may need replacing.
Sealing Flashing Correctly
Flashing protects transition areas like chimneys and skylights. Clean the area, remove old sealant, and use a high-quality roofing sealant—not general silicone.
For gaps or lifted edges, apply a bead of roofing sealant and smooth it out. For larger holes, patch with matching material and secure it properly.

DIY Roofing Repairs Costs
DIY roofing repairs can significantly reduce costs for Australian homeowners compared to hiring professionals. On average, replacing a few broken tiles may cost between $50 to $100, depending on the tile type. A tube of high-quality roofing sealant ranges from $10 to $25, while a bucket of roofing cement costs about $30 to $50.
Basic tools like a roofing hammer, utility knife, and pry bar may cost $100 to $200 total, but these are one-time investments that can be reused. Safety equipment such as a harness, helmet, and non-slip boots could cost $150 to $300, essential for working safely at heights.
Mistakes to Avoid
- Skipping prep: Always clean and dry surfaces before applying materials.
- Using the wrong materials: Don’t settle for generic products—use items designed for roofing repairs.
- Rushing: Wait for the right weather, and don’t cut corners.
- Ignoring advice: Join online forums or watch expert videos to learn from others’ experiences.
Know When to Stop and Call an Expert
If you’re dealing with structural damage, repeated leaks, or feel unsafe, it’s time to call in the pros. Seek referrals, check credentials, and get detailed quotes. Don’t base decisions solely on price—quality work protects your home in the long run.
Conclusion
Start with small tasks. As your confidence and skill grow, so will your ability to handle more roofing repairs safely. Whether patching a leak or replacing a tile, you're not just saving money—you’re protecting your home. Let me know if you want this formatted for a blog or PDF, or if you'd like a printable checklist version of the guide!